
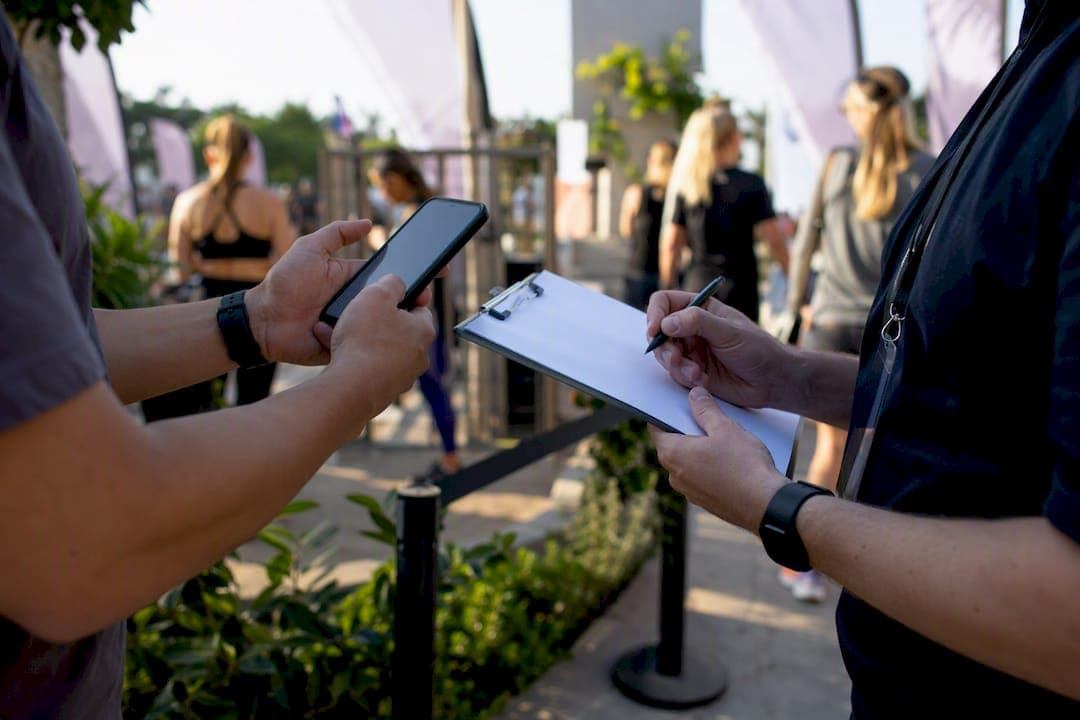
Yes. QR code check-in is the fastest, lowest-cost way to run contactless entry for small-to-mid-size events when you set it up correctly. The single most important action: generate one unique QR code per registration and get it into attendees' hands before they arrive, not at the door.
Every working QR check-in system needs the same four pieces:
- A unique QR code tied to each individual registration
- A scanner or smartphone app to read codes at the entrance
- An offline fallback for dead Wi-Fi or missing codes
- Pre-event communication telling attendees exactly where to find their code
Key Takeaways
QR code check-in works reliably for small-to-mid-size events when organizers pair a unique code per registrant with clear pre-event instructions and a tested offline fallback.
| Point | Details |
|---|---|
| Generate before you distribute | Create one unique QR per registration and send it days before the event, not the morning of. |
| Communication beats hardware | Clear instructions on where to find the QR code reduce queues more than adding extra scanners. |
| Always staff a manual lane | Keep a name/email lookup option running for missing codes, dead phones, or accessibility needs. |
| Know your scale threshold | QR works well under roughly 2,000 attendees; larger or cashless events should plan for RFID. |
| VO2WOD for gym events | Gyms running classes and member events can use VO2WOD's built-in QR check-in tied directly to attendance and performance records. |
Table of Contents
- How QR Code Check-In Works From Scan to Record
- How Do You Set Up QR Check-In Before the Event?
- Running the Check-In Line on Event Day
- What Should You Track and Export After Check-In?
- What Do You Do When a QR Code Won't Scan?
- Why Communication Matters More Than Extra Scanners
- An Integrated Option for Gym Events and Classes
- Frequently Asked Questions
- Sources
How QR Code Check-In Works From Scan to Record
A QR check-in system has four moving parts: the code itself, how you distribute it, the device that reads it, and the back end that turns a scan into a record. The QR code can either link to a registration page or carry an encoded attendee ID that your scanning app decodes directly. Either way, a generic code pointing to a plain static URL will not work for attendance tracking. It has to connect to a system that logs who scanned in and when.
The actual data flow is simple: a staff member or self-service kiosk scans the code, the app decodes it, the back end looks up the registration and validates it, the system logs the timestamp, and the attendee gets a confirmation, usually a green check or a printed badge cue. Static QR codes work fine for single-day events. Dynamic QR codes, which let you change the destination URL after printing, are the better call for multi-day conferences where you might need to redirect attendees to a different form each morning.
- Static QR: fixed destination, cheaper to generate, fine for one-day events
- Dynamic QR: editable after printing, better for multi-day or evolving registration flows
- Single-scan invalidation: once used, the code is flagged so it cannot be reused or shared
Pro Tip: Because QR scans take several seconds each compared to sub-second RFID reads, use that gap to calculate staffing. If you expect a moderate number of attendees in a typical 30-minute arrival window, you need more than one lane.
How Do You Set Up QR Check-In Before the Event?
Setting up QR check-in is mostly front-loaded work. Do it right two weeks out and event day runs itself.
- Generate a unique QR code for every registration. Use dynamic codes if your event spans multiple days or you might need to swap the landing page later, since dynamic codes let you redirect without reprinting a single badge.
- Embed the QR in every channel you have. Confirmation email, SMS, calendar invite (.ics attachment), and a wallet pass if your platform supports it. Email subject line suggestion: "Your Entry Pass for [Event Name] — Save This Email." One-sentence instruction: "Show this QR code at the entrance. No app needed."
- Set up your scanning hardware and staff accounts. Decide how many devices you need, create individual staff logins with scan-only permissions, and designate one or two backup tablets in case a device fails.
- Test on real devices, real networks. Run the code on both Android and iPhone, over Wi-Fi and mobile data, and confirm the check-in form loads in a few seconds, not ten.
- Test the offline path. Kill the Wi-Fi and confirm the app still logs a scan locally, then syncs once connectivity returns.
- Run a dry run with 5 to 10 people acting as attendees, including one with a deliberately broken or missing code.
Checklist for hardware and software before doors open:
- Scanner app installed and logged in on every device
- Staff accounts created with correct permission levels
- At least one backup device charged and ready
- Printed badge contingency plan if a device dies entirely
Running the Check-In Line on Event Day
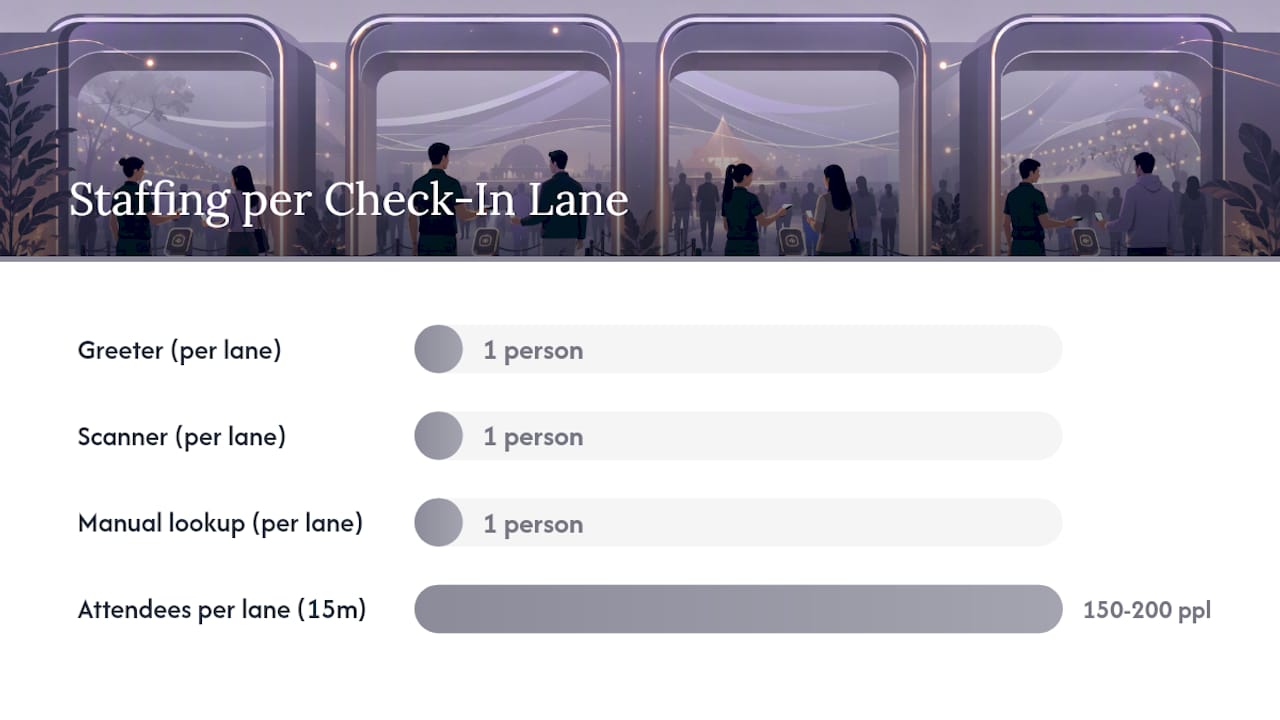
Staffing decides whether your line moves or stalls. For most events, plan one greeter, one scanner, and one person doing manual lookups per lane, and add a lane for roughly every 150 to 200 attendees you expect in your busiest 15-minute window.
Lay out your entrance in three lanes if space allows: a fast QR-scan lane for people with working codes, a manual-lookup lane for anyone without one, and a small quick-fix station off to the side for accessibility needs or technical hiccups. Keep that third station away from the main flow to prevent backups caused by individual issues.
Set scanning app permissions carefully. Staff accounts should be able to scan and mark attendance, not edit registration records. Decide in advance whether a scanned code is invalidated immediately or just flagged present while still allowing re-entry, since re-entry policies vary by event type.
- One scanner, one greeter, and one manual-lookup staffer per staffed lane, scaled to expected peak attendees; ensure separate manual-lookup lanes and scan-only permissions for staff.
Pro Tip: Post a single sign at the entrance that says "Have your QR code ready" and script your greeters to say the same line to every arrival. Consistency at the door does more for line speed than adding another scanner.
What Should You Track and Export After Check-In?
Attendance data is only useful if it is structured before the event starts. At minimum, capture the check-in timestamp, which device or lane logged the scan, registration type (VIP, general, staff), and whether someone was a pre-registered no-show versus a walk-up add.
Most check-in platforms let you export to CSV or XLSX and offer a live dashboard showing real-time counts as people arrive. Systems built to replace paper sign-in sheets timestamp every submission automatically, which removes the end-of-day scramble to reconcile a guest list by hand.
- Check-in timestamp and lane/device ID
- Registration type and ticket tier
- No-show vs. walk-up flag
- Live dashboard for real-time headcount
If you're feeding this data into a CRM, email platform, or access control system, map registration type and email address as your two anchor fields. Most integration failures trace back to a mismatched email field between your ticketing platform and your check-in tool.
What Do You Do When a QR Code Won't Scan?
Most check-in problems fall into four categories, and each has a fast fix.
Poor scan quality: glare, low light, a smudged printout, or a phone screen at the wrong angle. Fix: angle the scanner, dim overhead glare, or have the attendee brighten their screen.
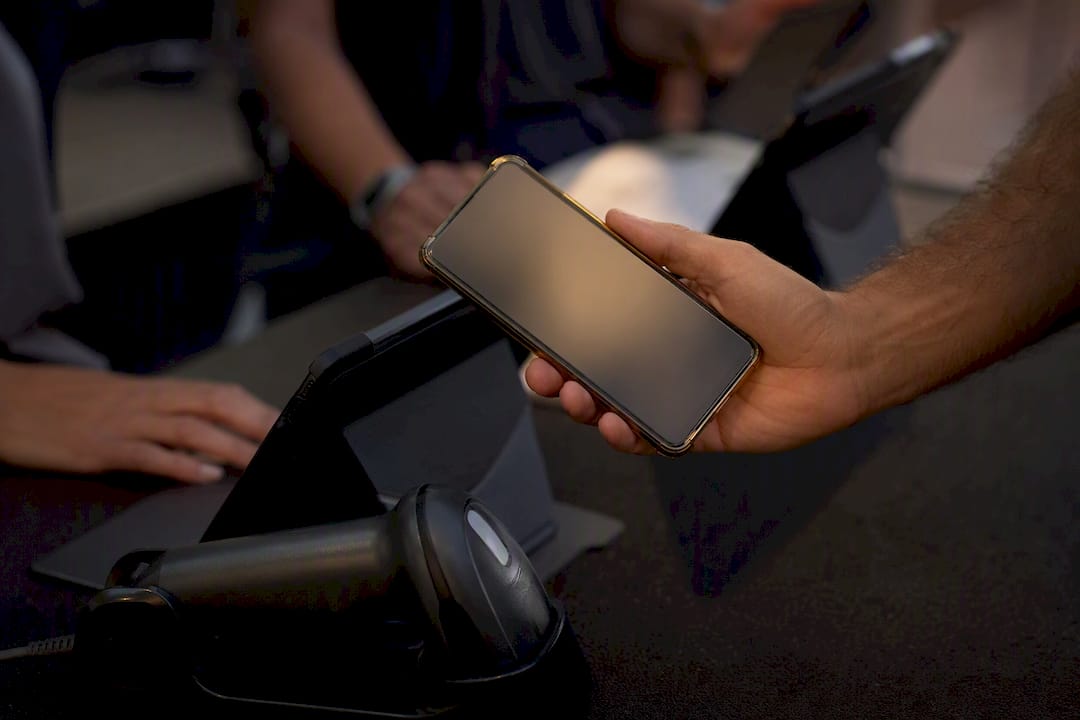
Missing QR or no phone: pull up manual lookup by name or email, capture the essentials, and wave them through without holding up the line behind them.
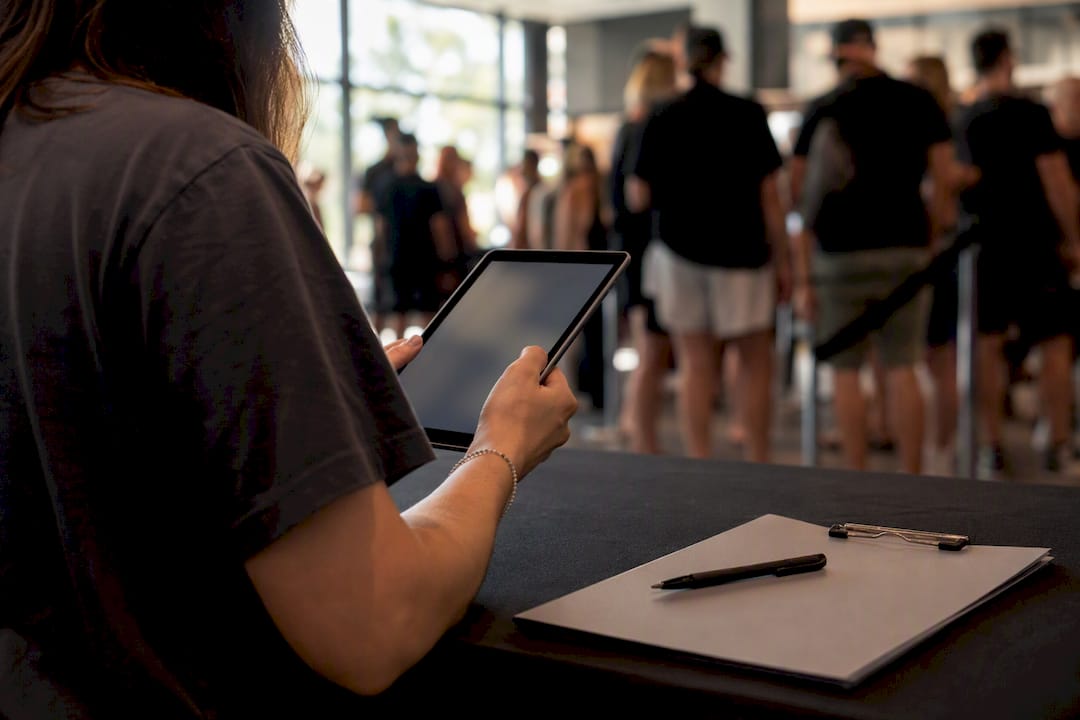
Duplicate or shared codes: single-scan invalidation stops a screenshot from being reused, and time-limited dynamic codes shut the door on sharing entirely.
Connectivity failures: local caching lets the app log scans offline and sync later; if the whole system drops, fall back to a printed list immediately rather than waiting it out.
- Glare or damage: angle the device, adjust lighting
- No code: manual lookup by name/email
- Duplicate scan: single-scan invalidation flags it instantly
- No signal: local caching queues the scan for later sync
Pro Tip: Stage a "rapid fallback" lane before doors open, not after a problem starts. A folding table with a printed roster and one staffer costs nothing and saves you from a 20-minute bottleneck.
Why Communication Matters More Than Extra Scanners
The biggest lever organizers overlook isn't hardware. It's telling people where their code actually is. Clear pre-event instructions about accessing the QR code prevent queues more effectively than adding scanning staff on the day. Technical setup is genuinely the easy part; attendee behavior at the door is what actually determines line speed.
Send a reminder 24 to 48 hours out with simple, action-focused language: "Your entry pass is in your confirmation email — screenshot it now so you're not searching for Wi-Fi at the door."
- Send via email and SMS, not just one channel
- Attach the QR as a calendar invite so it's visible without opening a separate app
- Use dynamic QR codes to re-target attendees who lost or deleted their original confirmation
Pro Tip: Stagger two reminders: one at 48 hours with general instructions, one at 12 hours with a direct "screenshot your code now" push. The second reminder catches the people who ignored the first.
One Planner's Take on QR vs. RFID
My baseline: one tested QR lane per 200 to 300 expected peak attendees, with manual fallback always staffed. Past roughly 2,000 attendees or if you need cashless payment and backstage access control, start planning for RFID instead.
An Integrated Option for Gym Events and Classes
If you're running check-in for gym classes, competitions, or member events rather than a one-off conference, a single platform that handles registration, QR check-in, and reporting together saves you from stitching three tools into one workflow. VO2WOD builds QR check-in directly into gym management software, alongside real-time performance monitoring and automatic reporting, so a scan doesn't just log attendance. It ties straight into a member's history.
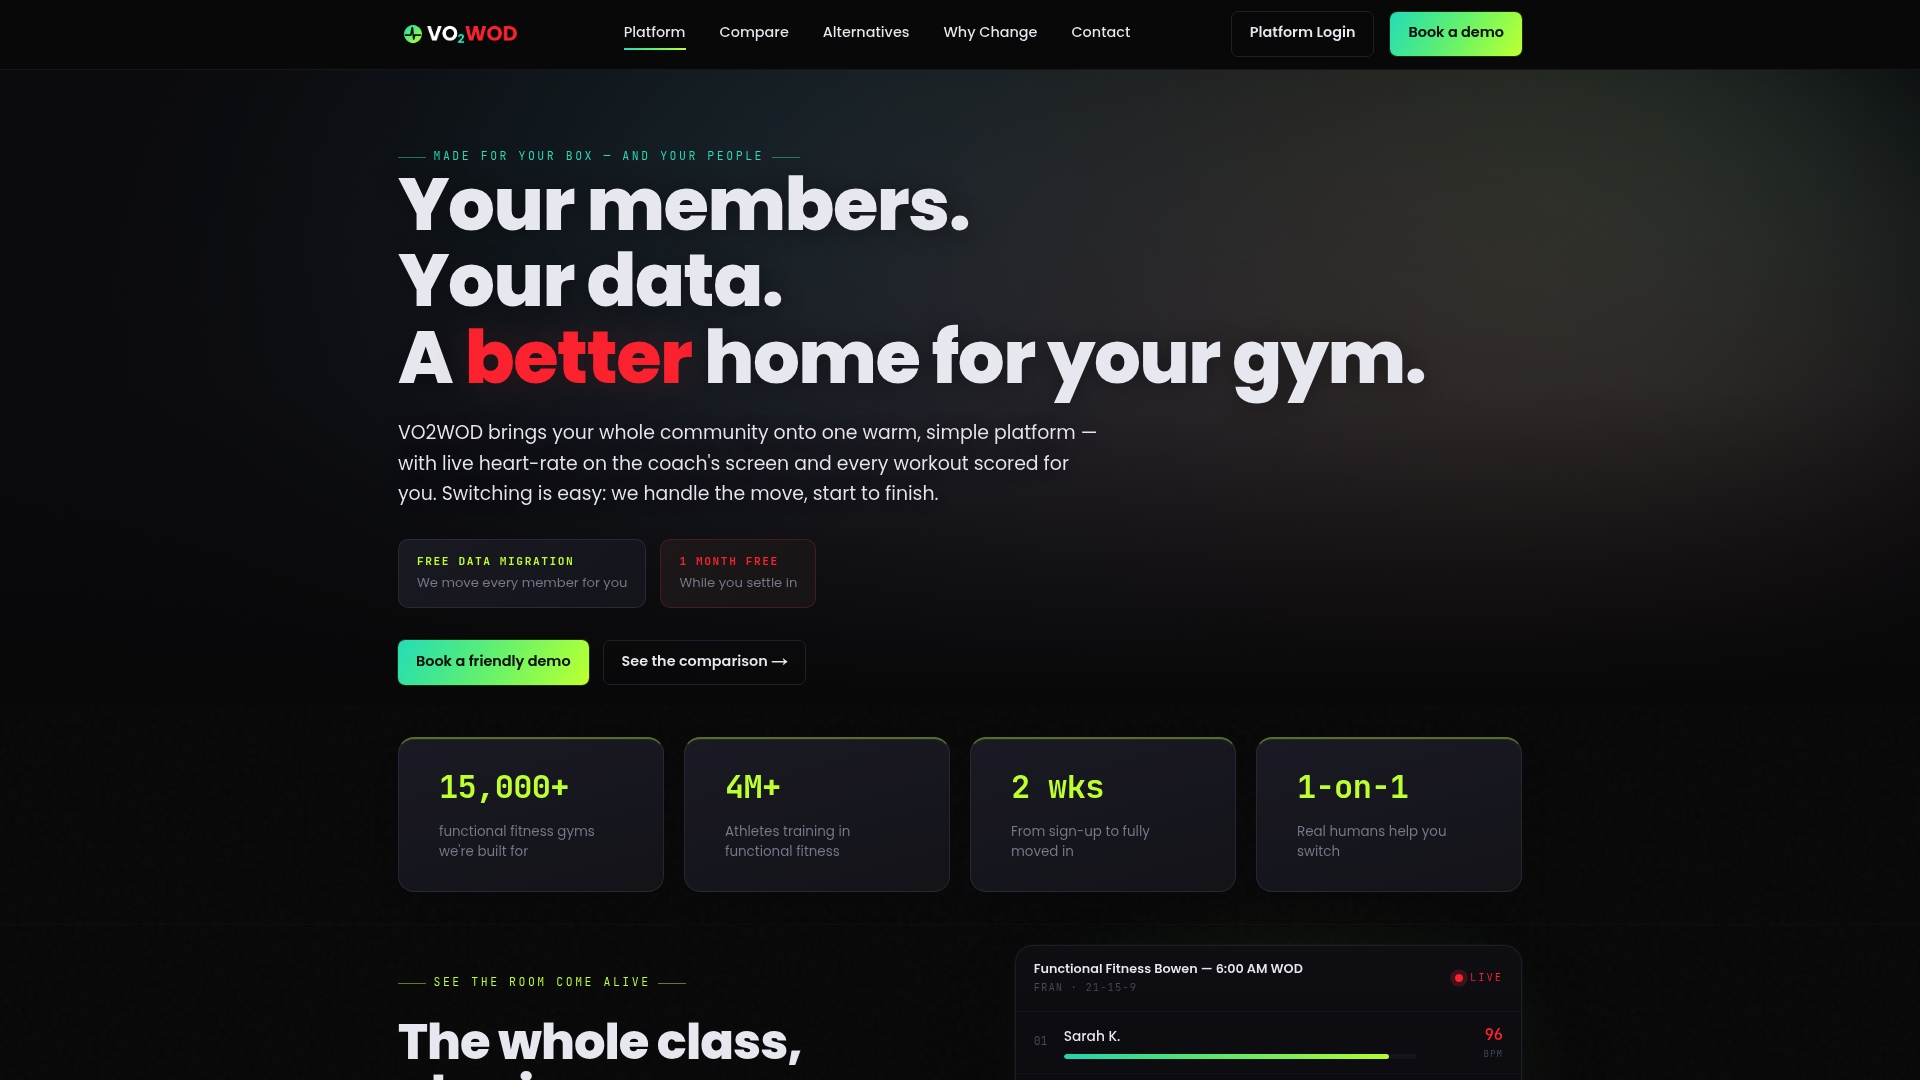
The feature set matches what this article covers step for step:
- Unique QR code generated automatically per member or registrant
- Real-time dashboard showing who's checked in during a class or event window
- Exportable attendance data and integration with existing membership records
- Free data migration and a dedicated team for the transition, so switching doesn't cost you a season of manual re-entry
If you're deciding between patching together separate check-in and membership tools, see how VO2WOD compares to other gym platforms and check what switching actually involves.
Frequently Asked Questions
Does every attendee need a smartphone app to use QR check-in? No. Most modern phones read QR codes through the native camera, opening a browser-based form rather than requiring an app install, which keeps the process low-friction for attendees.
What's the difference between static and dynamic QR codes for check-in? A static QR code has a fixed destination once printed. A dynamic QR code lets you change where it points after printing, which is useful for multi-day events where the landing form might change daily.
How many QR scanning lanes should I set up for a mid-size event? Plan roughly one staffed lane per 150 to 300 attendees expected during your busiest 15 to 30-minute arrival window, plus a separate manual-lookup lane.
What happens if the venue has no Wi-Fi or cell signal? A well-built check-in app caches scans locally and syncs once connectivity returns. If the whole system goes down, switch immediately to a printed roster rather than waiting on a fix.
Is QR code check-in secure enough to prevent duplicate entries? Yes, when the platform applies single-scan invalidation, which flags a code as used the moment it's scanned so a screenshot or shared image can't be reused for a second entry.
Sources
- QR Code Check-In System | Free to Try | QRKIT
- QR Code Attendance — Check In & Check Out, No App | AttendPad